

There are two ways to mark a client as inactive while preserving their history. Once you've marked inactive contacts, create a saved view so you see only active clients by default.
Option 1: Using a group.
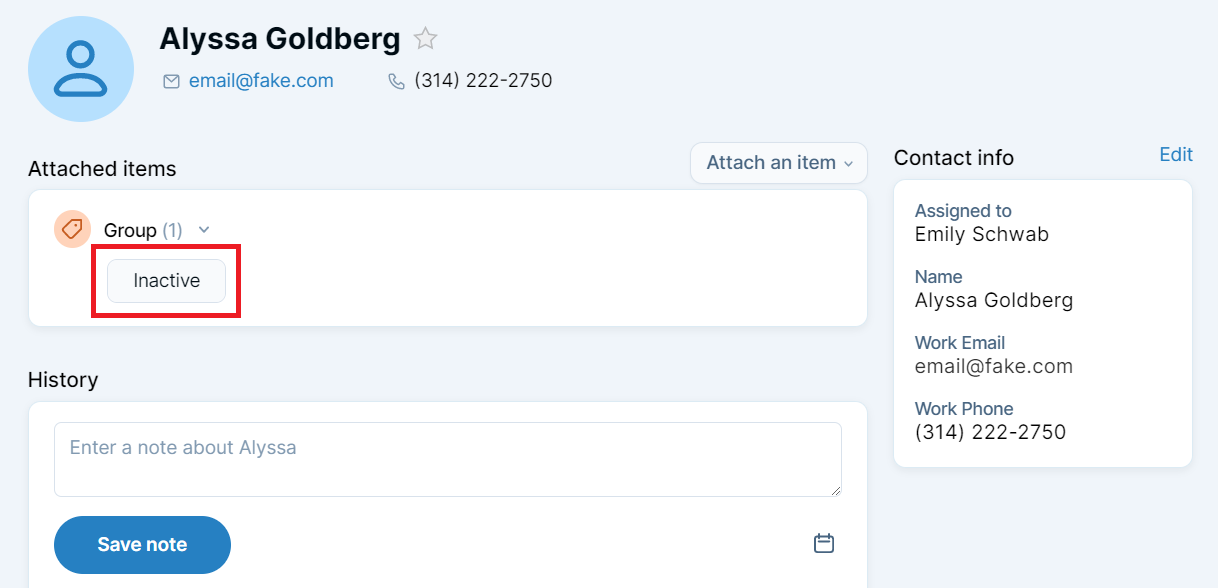
- A group tag will appear at the top of the contact so you can see it.
- Use the group to easily pull up all inactive clients at once.
Option 2: Using a custom field.
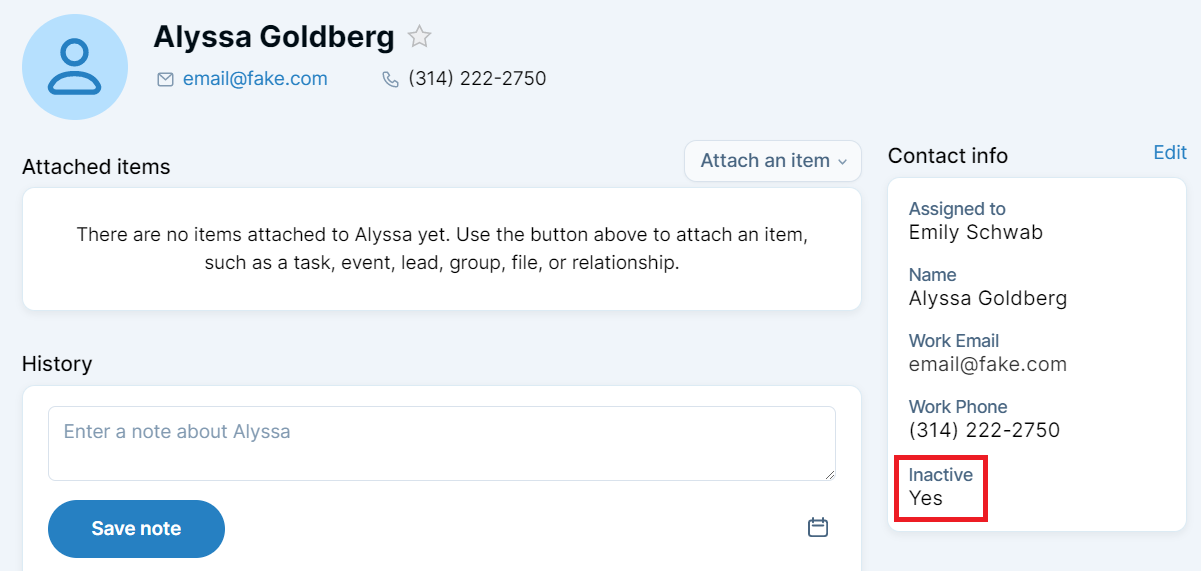
- A custom inactive field will appear on the right side of the contact record alongside other contact details.
- You can filter by the custom field to pull up all inactive contacts.
- Generally less visible than a group or naming convention.
Next step: Save a view to exclude inactive contacts.
- Create a saved view that excludes your inactive contacts, so you only see active contacts by default.
- Learn more about saved views here.
Option 1: Using a group.
Groups are a categorization tool that you can use to help tag your contacts. You can create an “Inactive” group to help segment your inactive clients. Learn how to create groups here.
When you add a contact to the “Inactive” group, that’ll appear at the top of the contact record, so if you pull one up you can easily see they’re inactive.
You can also pull up all of your inactive clients by mousing over “CRM” and selecting your “Inactive” group from the menu. This option may be best if you’ll want to quickly view all of your inactive clients, or if you want an inactive tag to be visible near the top of the page when you access a contact.
Option 2: Using a custom field.
Custom fields can be used to track unique details related to your contacts, and you can create a custom field to track whether a contact is inactive. Custom fields will appear in the “Contact info” section on the right side of the page, and you can filter by custom contact fields to pull up everyone with a particular entry. Learn how to create custom fields here.
Once you’ve created a custom field, you can go to a contact and select “Edit” to the right of the “Contact info” section. In the dialog that appears, your new custom field will appear and you can select the appropriate option to mark them as inactive. Once saved, that field entry will appear on the right side under “Contact info.” The exact location of that field may vary, depending on whether you changed the order of other fields after you added this custom field.
If you go to the full list under "CRM" in the navigation bar, you can also add a filter to view all inactive clients. Simply select “Filter” in the upper right and choose “Add a filter.” In the dialog that appears, select your new inactive custom field, enter the appropriate option, and then apply the filter. This option may be best if you want to know a client is inactive, but don’t need it to be quite as visible as a group or naming convention.
Next step: Save a view to exclude inactive contacts.
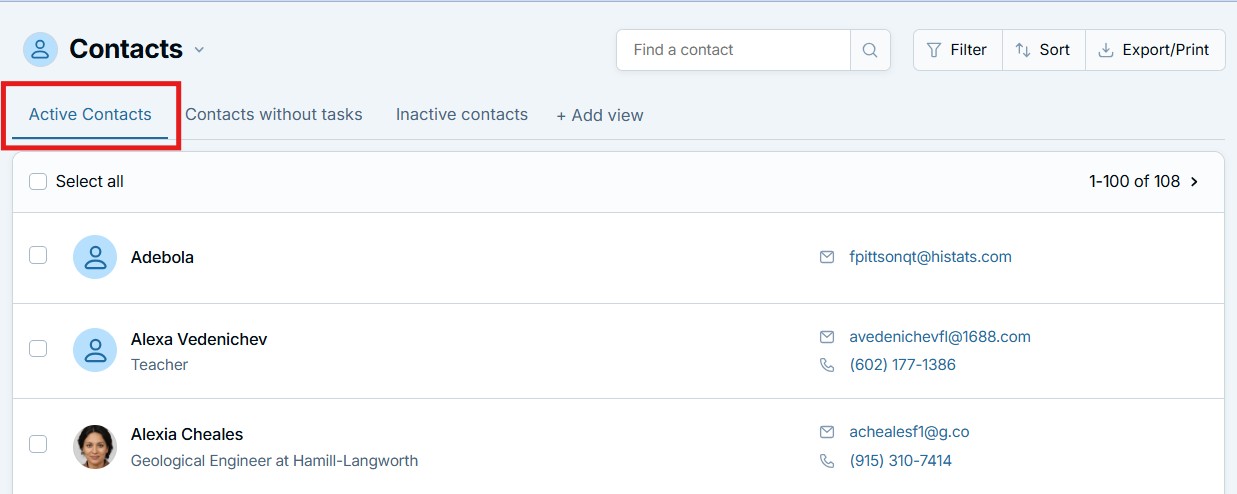
Saved views can be used to more easily access a filtered list of contacts. Whether you use a group or custom field, you can create a saved view that excludes your inactive contacts, so you can easily view just your active contacts. If you go to the full list under “CRM” in the navigation bar, you can filter based on the way you’re tracking inactive contacts.
- If you’re using a group, select “Filter” in the upper right and choose “Add a filter.” Then, select “Group” “show contacts that are NOT in the following group(s)” and select your “Inactive” group. Apply the filter.
- If you’re using a custom field, select “Filter” in the upper right and choose “Add a filter.” In the dialog that opens, select your custom field, and make the appropriate selection to exclude your inactive contacts. Apply the filter.
Once you’ve filtered the list, select “Save view” on the right side of the page. Then, select “Update Contacts view” if you’d like this to be your default view. If not, select “Save as a new view” instead, and then enter a name for your new view. Saved views will appear along the top of the page. Learn more about saved views here.
Can't find what you're looking for?